I have been racking my brain trying to come up with a quick release fastener for use when fastening tarps to the side of a wooden structure. Using screws and (if necessary) washers is obviously a simple and inexpensive solution if you don't plan on taking your tarp down very often. If the tarp is being hung vertically, you can generally use hooks to support the top of the tarp and the tarp can easily be latched onto the hooks without much effort. So, if you are only planning to put up the tarp once per season you can probably just go with hooks along the top and screws as necessary on the other three sides.
Another possibility for the sides and bottom is to use what are called "Common Sense Fasteners" which are shown here.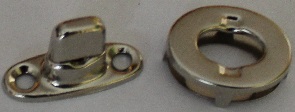 . These fasteners are easy to use however they have three main disadvantages:
Of course, the main advantage of these fasteners is that they allow the tarp to be secured and released much faster than when using screws and washers. Also, they are an attractive fastener so if the fasteners will be quite visible this is probably the way to go. On the other hand, if you are using the fasteners on a barn or a shed appearance is less of an issue.
Anyway, I have been thinking about how to overcome the two Common Sense Fastener shortcomings I mention. That is, I would like something that serves the main objective, that being quick release, however I want something that is inexpensive and also works with standard grommets.
What I have come up with involves the use of anchors like the one shown here.
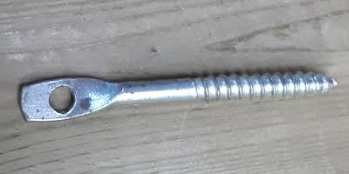
These anchors are often used when installing suspended ceilings. If you search Google for "Suspend It eye lag screws" you will probably find lots of places that offer these screws. Home Depot sells them for about 20 cents each. The basic idea is that you set these lag screws in the locations that line up with your grommets then you just need to put something through the hole that will keep the tarp grommets in place.
I was looking in my shop for something that would work well to put through the hole. A short piece of coat hanger would do the job but it is kind of thin and would rust eventually. I noticed an old fencing staple that was nailed into the wall and it occurred to me that this would be ideal because they are quite thick and galvanized so they won't rust. You can buy a pound of these for about $5.
When all is said and done, your "poor man's" (or poor woman's) quick release fastener will look something like this.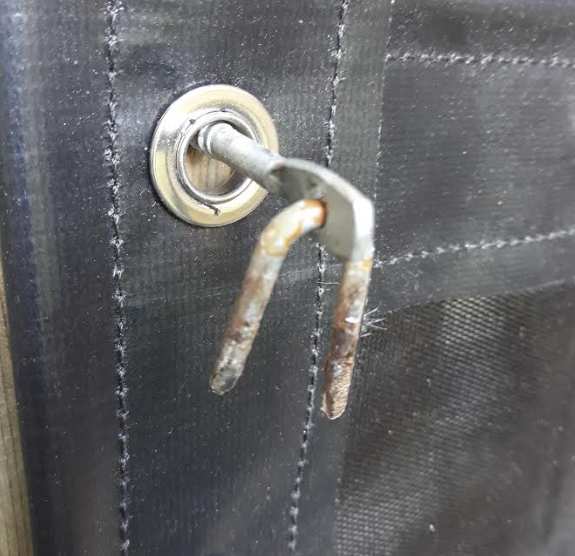
The staple shown here is likely 40 years old so yours will look better than this. If you go with this idea here are some things to consider.
 One of the problems with the eye lag screws described above is that they don't tend to go in far enough to hold the tarp tight against the wall. As mentioned, you can solve this by using a short piece of hose or pipe as a "washer". This next idea solves this problem and is even cheaper since you can use standard screws.
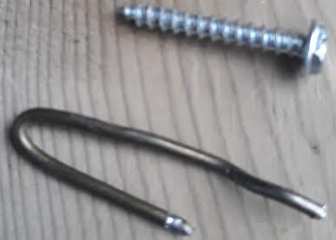
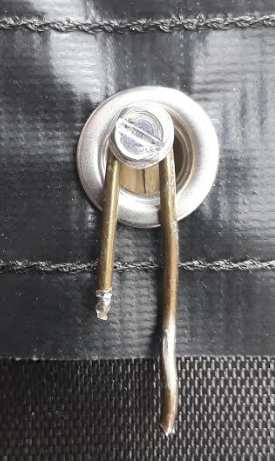 Over the years I have probably made over 100 "tools" using nothing but a coat hanger and a couple of different types of pliers. Here is a good example where I have strategically bent about a three inch piece of wire into a simple quick release fastener. In this next photo we can see this clip in action.
If you don't want to bother making the clips yourself, you can achieve something similar using a hairpin style cotter pin clip. Although these would require more effort to latch and remove.
When using this method, try to find screws with a flat base (like metal screws rather than tapered wood screws) and size the head of the screw to be just slightly smaller than the grommet hole you are securing.
For some tarping applications looks do matter and some people might not be happy with the appearance of the fastener shown above. So I started to look into other options that might not be as easy to install or as quick to release but looked nicer. I discovered the fastener shown here. 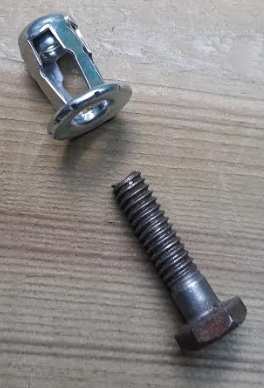
This is known as a sleeve anchor. The idea is that you insert this anchor into a hole and then insert a bolt and tighten it and as the bolt is tightened the sleeve compresses on itself and the sides expand to tighten the anchor in the hole. In practice this is easier said than done so let's go through the steps.
You will start by drilling the smallest hole possible that will allow you to hammer in the sleeve. Here we show that I chose the first drill bit for which the sleeve would not fit into the hole in the drill-bit case. As we will see later, even this hole may have been slightly too big.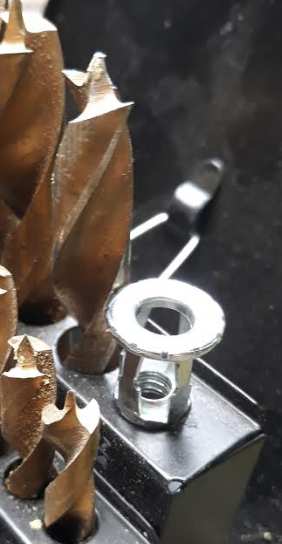
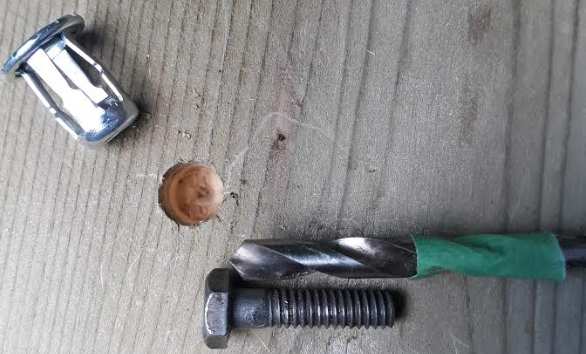 The bolt you are using to collapse the sleeve might be longer than the sleeve itself. If this is the case, you will need to drill a smaller hole in the middle of the sleeve hole to make sure that you can fully tighten the bolt in order to get the sleeve to compress.
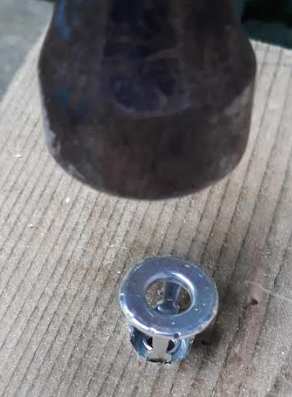 Next you will use a hammer to tap in the sleeve so that it is flush with the wood.
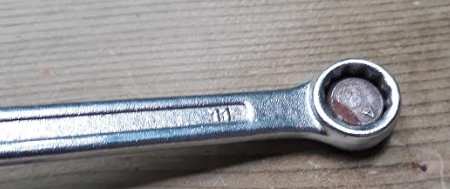 Now you can use a wrench to tighten the anchor sleeve. If all goes well the bolt will turn but the sleeve will stay stationary which will cause the sides of the sleeve to collapse and force themselves against the sides of the hole creating a nice snug fit. Be careful not to over tighten.
Unfortunately, when I tightened the bolt the sleeve started turning as soon as the bolt got the least bit snug so I was not able to compress the sides as intended. Nevertheless, the anchor was pretty snug in the hole so I think it will do the job. When you are finished tightening the bolt you then remove it since this same bolt will be used to secure the tarp. In some bases this bolt may be a little too short and you may need to use longer bolts that will accommodate the thickness of the tarp's grommets and a washer if necessary.
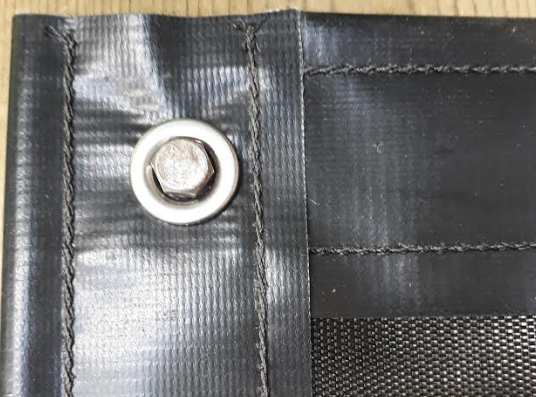
Here we see the finished product. This looks a lot neater that the hanger screw concept above although it is not quite as easy to insert and remove the bolt as it is to insert the wire into the hanger screw. Nevertheless, this is something that can be done by hand without any tools, unlike what would be needed when using standard screws or lag bolts. Also, when the tarp is not in use, the sleeve anchors site flush with the wall rather than sticking out like the hanger screws.
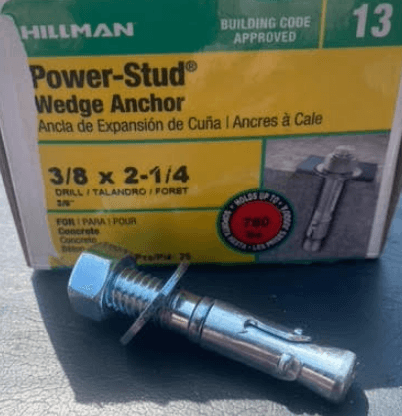 One of our customers from Orleans Ontario sent us these photos illustrating a similar idea to what we have shown above. He used an anchor called a Power-Stud. This is a good option if you don't mind having the exposed bolt heads protruding from mounting boards as shown here.
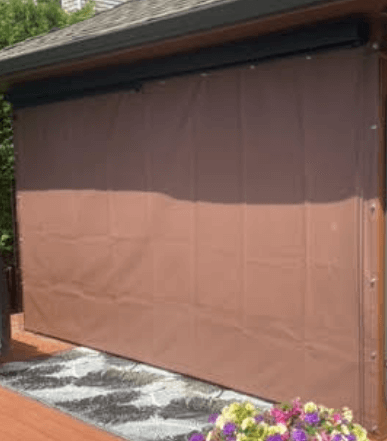
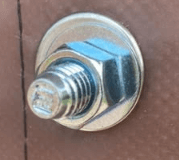
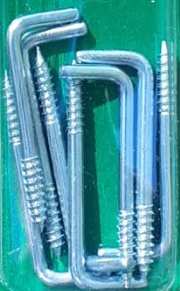
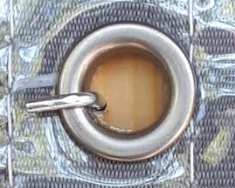 Another possibility for quick release fasteners are L-shaped cornice hooks like the ones shown here. If the horizontal portion of these hooks can fit through the grommet hole and if they are positioned near the outside edge of the grommet, you should be able to simple twist the cornice hooks inward in order to release the tarp.
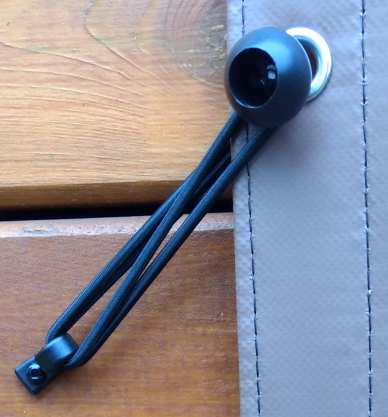 Ball bungees are another low cost way to implement a quick release fastener. When using ball bungees, be sure to place the hook for the bungee far enough away from the grommet hole to ensure the bungee will have sufficient tension to keep the tarp taut. Here we have placed the hook below the grommet hole to put some downward pressure on the tarp as well.
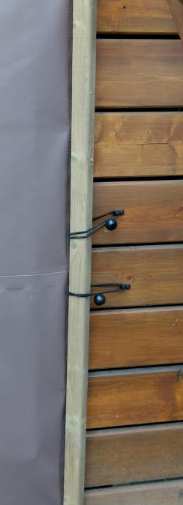 Here is another example sent to us by one of our customers in Mattawa Ontario. Notice that the ball bungees are used to secure a 2x2 along the edge of the tarp to help seal off the side from wind while making it very easy to gain entry.
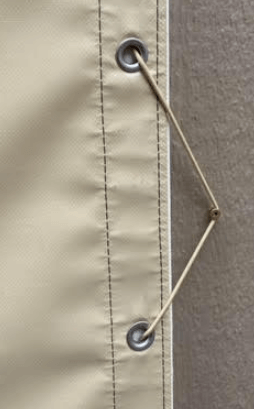 One of our customers sent us this concept for a quick release fastening technique. Simply weave a cord through the grommets then mount simple fasteners a few inches outside of the tarp, straddling the grommets. To secure the tarp, just hook the cord onto the fasteners. In this case, the fastener is simply the head of a screw. This could also be a hook or even a nail with a large head.

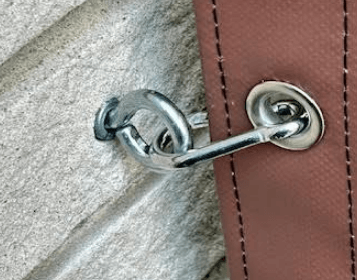 One of our customers in Cambridge sent us these photos showing how he attached grommets to a brick wall. He used a masonry bit to drill holes into the brick. He then pounded in lag shields. Standard eye hooks were screwed into the lag shields and simple carabiner clips connected the grommets to the eye hooks.
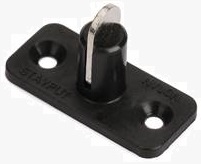 Stayput makes a horizontal fastener that is shown here. These are designed for grommet holes that are smaller than what we offer so we don't recommend these for use on their own. These can be used successfully in combination with 5/16" flat washers provided you use the double stud version of the Stayput fastener.
 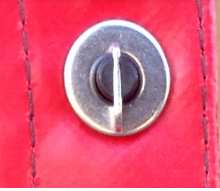 Here we see a photo of this fastener/washer combination.
If you have other ideas for an inexpensive quick release mechanism that would work with standard grommets, please send us an email to tell us about it.